 How to Auto-Inhibit Sensors
Auto-Inhibiting sensors stops the sensors from alarming on data excursions, outside of the set points. This feature is often used in production areas, where the area may not be us use for set periods of time. During these times cooling is turned off to save energy which results in a change of the environment. Auto-inhibiting sensors during these times stops sensors from false alarming.
Auto-inhibiting sensors can only be activated by users with the appropriate system permissions. To automatically auto-inhibit sensors at specific times this option must be activated on a schedule, see Creating a Schedule.
Route to auto-inhibit sensors:
SITE=> SELECT DEVICE=> DEVICE DETAIL PAGE=> ALARM=> Edit

Attaching a Schedule
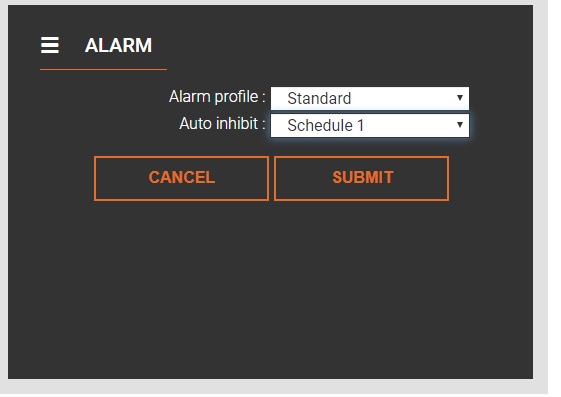
- Click on the auto-inhibit drop down menu.
- Select the pre-configured schedule the sensor is to be linked to.
- Click submit. The alarm section will update and show the schedule attached to the sensor.
Changing to Another Schedule
Repeat Steps 1 to 3 above, selecting the new schedule to attach the sensor to.
Removing Auto-Inhibit
- Click on the auto-inhibit drop down menu.
- Select Off.
- Click submit. The alarm section will update and will show the schedule as off.
Schedule Edit Tab